All 10 Characters Ranked & Explained
Arms of God Classes: Every Character Explained
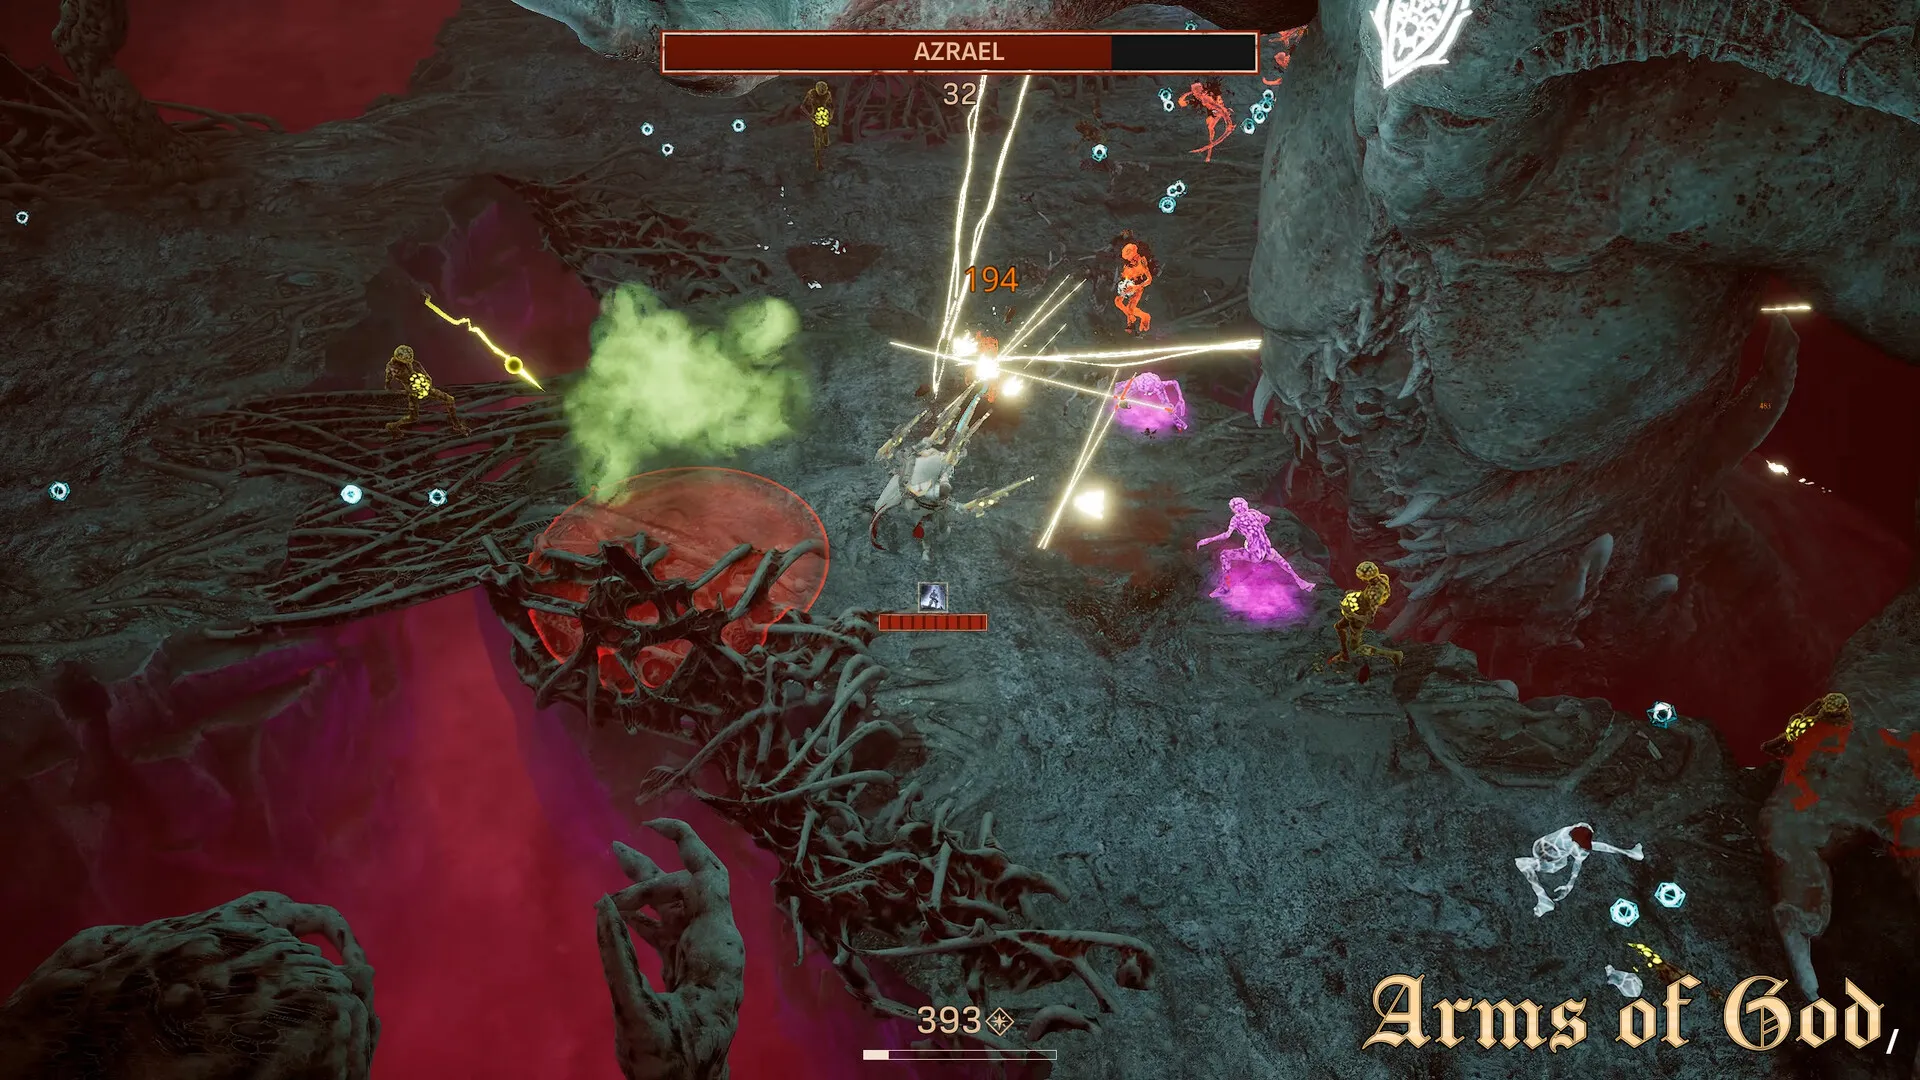
Ten characters, each with a unique active ability, passive skill tree, and Divine Form ultimate. Choosing the right one changes how you approach every weapon pick, every blessing choice, and every boss fight. This guide breaks down what each character actually does — not the flavor text, the mechanics.
Dark Jay Studio (the solo Polish developer behind Arms of God) built these characters with distinct playstyles. There's no "best" character for everything — there's the right character for your preferred playstyle and the right character for the Act you're tackling.
Character Overview Table
| Character | Divine Form Type | Difficulty | Best For | Unlock Method |
| --- | --- | --- | --- | --- |
| The Paladin | Defensive (360° Shield) | Easy | Learning, safe clears | Default unlocked |
| The Inquisitor | Offensive (Fire Storm) | Medium | Fire builds, DPS | Default unlocked |
| The Stormcaller | Offensive (Chain Lightning) | Medium | Shock builds, wave clear | Clear Act 1 |
| The Seraph | Offensive (Holy Beam) | Hard | Holy builds, ranged DPS | Clear Act 2 |
| The Zealot | Ramping (Damage Stack) | Hard | Boss killing, speedruns | Clear Act 3 |
| The Prophet | Summoner (Minion Army) | Medium | Crowd control, safe DPS | Unlock 3 characters |
| The Templar | Balanced (Stat Boost) | Easy | All-rounder, flexible | Default unlocked |
| The Bishop | Support (Healing Aura) | Medium | Sustain, long runs | Reach level 20 in any run |
| The Martyr | Risk/Reward (Low HP Boost) | Very Hard | High-risk DPS | Die 20 times total |
| The Ascendant | Transformation (Form Switch) | Very Hard | Advanced players | Clear Act 4 |
S-Tier Characters
#### The Inquisitor — Fire Damage Specialist
Passive: +25% Fire damage. Every 10th attack releases a Fire Nova dealing 80% weapon damage in a 4-meter radius.
Divine Form (Fire Storm): Transforms into a floating fire entity for 12 seconds. All weapons gain the Fire element. Projectile count doubles. Movement speed increases by 40%. Cooldown: 90 seconds.
Why S-Tier: The Inquisitor's passive makes every Fire weapon in your loadout 25% stronger before any blessings. The Fire Nova passive triggers every ~0.8 seconds with a rapid-fire weapon like Infernal Repeater, adding a free AoE attack to your primary DPS. The Divine Form turns already-strong Fire builds into screen-deleting powerhouses.
Best weapons: Infernal Repeater, Hellfire Magnum, Ember Cannon, Incendiary Rounds Launcher, Flame Lance.
Skill tree priority: Fire Nova radius → Fire damage → Divine Form duration → Projectile speed.
Weakness: Struggles against Fire-resistant enemies in Act 3 without a backup damage type. The Divine Form cooldown leaves a 78-second window where you're just a regular character with +25% fire damage.
#### The Stormcaller — Chain Lightning Master
Passive: +1 chain count to all Shock weapons. Chain damage increases by 5% per jump instead of decreasing.
Divine Form (Chain Lightning): Every weapon chains to 8 additional targets for 10 seconds. Chain damage increases by 15% per jump. Enemies struck by chains are stunned for 0.5 seconds. Cooldown: 80 seconds.
Why S-Tier: The passive alone makes Stormcaller the strongest wave-clear character in the game. Most chain weapons lose damage per jump. Stormcaller's chains gain damage. In Act 4 rooms with 40+ enemies, your effective DPS is 3-5x higher than any other character because every projectile hits multiple targets for increasing damage.
Best weapons: Stormcaller, Tesla Coil, Chain Lightning Rifle, Thunderstrike Gauntlets, Electro Whip.
Skill tree priority: Chain count → Shock damage → Divine Form duration → Attack speed.
Weakness: Single-target damage against bosses is below average. You need a dedicated boss-killing weapon (Hellfire Magnum or Seraph's Judgment) in one slot to compensate.
A-Tier Characters
#### The Seraph — Holy Ranged Specialist
Passive: Holy weapons gain +15% projectile speed and pierce through 1 additional enemy.
Divine Form (Holy Beam): Fires a massive holy beam that pierces all enemies in a line for 8 seconds. Beam damage scales with your highest-damage equipped weapon. Cooldown: 75 seconds.
Why A-Tier: The Seraph turns Seraph's Judgment (already S-tier weapon) into a screen-wide death laser. The extra pierce on all Holy weapons means your projectiles hit twice as many enemies. The Divine Form beam can one-shot Act 3 elites if aimed correctly.
Best weapons: Seraph's Judgment, Crusader's Shotgun, Sacred Bow, Divine Arc, Sanctified Buzzsaw.
Weakness: Squishy. Low base HP combined with no defensive tools means positioning mistakes are punished hard. The Divine Form beam requires precise aiming — miss and you've wasted your ultimate.
#### The Prophet — Summoner
Passive: Spawns a Holy Minion every 15 seconds (max 4). Minions deal 30% weapon damage and draw enemy aggro.
Divine Form (Minion Army): Doubles max minion count to 8 for 15 seconds. Minions deal 60% weapon damage and explode on death for 150% weapon damage in a 3-meter AoE. Cooldown: 100 seconds.
Why A-Tier: Minions draw aggro, which means you spend less time dodging and more time dealing damage. In boss fights, 4-8 minions create a moving shield wall between you and the boss. The Divine Form turns boss arenas into fireworks displays.
Best weapons: Divine Arc, Tesla Coil, Holy Water Sprinkler, Sacred Bow, any weapon that benefits from enemies being distracted.
Weakness: Minion AI is inconsistent. Sometimes they body-block projectiles perfectly, sometimes they wander into a corner. Against AoE-heavy bosses, your minions die before contributing meaningful damage.
#### The Paladin — Defensive Tank
Passive: +20% HP. Take 15% reduced damage while standing still. Every 30 seconds, gain a shield that absorbs one hit.
Divine Form (360° Shield): Projects an impenetrable shield in a 5-meter radius for 8 seconds. All projectiles and melee attacks are blocked. Allies (in co-op) inside the shield gain 50% damage reduction. Cooldown: 120 seconds.
Why A-Tier: The Paladin is the training wheels character — and I mean that as a compliment. You'll learn enemy patterns without dying every 3 minutes. The passive shield absorbs one free hit every 30 seconds, which is a 30-second grace period between mistakes. The Divine Form makes you literally invincible for 8 seconds.
Best weapons: Sanctified Buzzsaw, Righteous Blade, Crusader's Shotgun, Blessed Mace, Flame Lance.
Weakness: Damage output is the lowest among all characters. No offensive passives. Clear times are 30-50% slower than S-tier characters.
B-Tier Characters
#### The Templar — Balanced All-Rounder
Passive: +10% to all stats (damage, HP, speed, projectile count). No specialization, no weakness.
Divine Form (Stat Surge): Doubles the all-stat bonus to +20% for 15 seconds. Cooldown: 90 seconds.
Why B-Tier: The Templar is perfectly fine. Not exciting, not weak, not strong. The +10% all-stat bonus means you're slightly above average at everything. Good for players who haven't decided on a playstyle yet. Outclassed by specialized characters once you know what you're doing.
Best weapons: Anything. That's the point.
Weakness: Jack of all trades, master of none. By hour 20, you'll have a preferred playstyle and a specialized character will outperform Templar in that role.
#### The Bishop — Sustain Support
Passive: Regenerate 2% HP per second while not taking damage for 5 seconds. Healing effectiveness from all sources increased by 30%.
Divine Form (Healing Aura): Creates a 6-meter healing zone for 10 seconds. All allies (and minions) inside regenerate 8% HP per second. Cooldown: 70 seconds.
Why B-Tier: The Bishop enables marathon runs where you slowly grind through Acts without dying. The passive healing means health pickups (which are rare) heal 30% more. Strong in co-op where your Divine Form can save teammates.
Best weapons: Holy Water Sprinkler, Sanctified Buzzsaw, Crusader's Shotgun, Sacred Bow.
Weakness: Below-average damage. No offensive passives. If you're good enough to not need healing, literally any other character is better. The Bishop is a crutch that becomes unnecessary once you learn positioning.
C-Tier Characters
#### The Zealot — High-Risk Boss Killer
Passive: Deal 2% increased damage for every 1% of missing HP. At 50% HP: +100% damage. At 25% HP: +150% damage.
Divine Form (Last Stand): Become invulnerable for 5 seconds. During invulnerability, damage bonus is locked at maximum value. After invulnerability ends, heal to 30% HP. Cooldown: 150 seconds.
Why C-Tier: On paper, the Zealot has the highest damage ceiling in the game. In practice, deliberately staying at low HP in a bullet heaven where one hit kills you is a recipe for frustration. Speedrunners use Zealot for world-record clears. Average players die at the 8-minute mark.
Best weapons: Hellfire Magnum, Infernal Repeater, Seraph's Judgment, Ember Cannon.
Weakness: You die. A lot. The risk-reward math favors risk too heavily. One mistake erases 20 minutes of progress.
#### The Martyr — Even Higher Risk
Passive: Start each run at 50% HP. Gain +3% damage for every death in the current run (stacks infinitely). Divine Form charges 50% faster.
Divine Form (Sacrifice): Consume 30% current HP to deal 500% weapon damage in a 6-meter explosion. Cooldown: 45 seconds.
Why C-Tier: The Martyr is the Zealot's even more extreme cousin. Starting at half HP means you're one hit from death from the very first room. The death-stacking passive is theoretically infinite scaling, but dying costs you time and blessings. The Divine Form is powerful but the HP cost means you can accidentally kill yourself using your ultimate.
Best weapons: Any high-damage weapon. You won't live long enough to build synergies.
Weakness: Designed for players who find the base game too easy. That is approximately 0.1% of the player base.
#### The Ascendant — Form Switcher
Passive: Can switch between two Forms (Offensive and Defensive) with a 20-second cooldown. Offensive Form: +30% damage, -15% HP. Defensive Form: +30% HP, -15% damage.
Divine Form (Transcendence): Combines both Forms for 12 seconds (+30% damage AND +30% HP, no penalty). Cooldown: 100 seconds.
Why C-Tier: The Ascendant requires you to constantly manage Form switching based on the situation. Wave room? Switch to Offensive. Boss telegraphing attack? Switch to Defensive. It's a lot of mental overhead for a payoff that specialized characters achieve passively. High skill ceiling but the floor is very low.
Best weapons: Flexible loadout. You need both offensive and defensive weapons to match your Form.
Weakness: Form-switching takes practice. Most players forget to switch and die in Offensive Form or deal no damage in Defensive Form. The 20-second cooldown on switching means bad timing is punished.
Character Tier List Summary
| Tier | Characters |
| --- | --- |
| S | The Inquisitor, The Stormcaller |
| A | The Seraph, The Prophet, The Paladin |
| B | The Templar, The Bishop |
| C | The Zealot, The Martyr, The Ascendant |
S-Tier characters are consistently strong across all Acts with minimal Cathedral investment. A-Tier characters are excellent in their niche but have clear weaknesses. B-Tier characters are viable but outclassed by specialists. C-Tier characters are for experienced players seeking a challenge or speedrunners pushing world records.
Which Character Should You Pick First?
If you're brand new: The Paladin. The defensive passives give you room to learn enemy patterns without dying constantly. Switch to The Inquisitor or Stormcaller once you can consistently reach Act 3.
If you've played bullet heavens before (Vampire Survivors, Brotato, Deep Rock Galactic: Survivor): The Inquisitor. You already know how to dodge. The Inquisitor rewards that skill with the highest consistent DPS in the game.
If you prefer a more passive playstyle: The Prophet. Let your minions tank while you focus on positioning and weapon management. The most relaxed way to play Arms of God.
If you hate yourself: The Martyr. I'm joking. Kind of.